How to do a 5 Step DIY Microdermabrasion at Home
A microdermabrasion is a great treatment that helps exfoliate your skin, improve tone, texture, and clear out your pores. The downside to getting a microdermabrasion treatment is that it can be costly and can be hard to get done at a clinic during social distancing regulations. But luckily there is a way to do your own microdermabrasion facial at home with 5 simple steps. Get ready for super glowy skin in the comfort of your own home.
Step 1. Cleanse
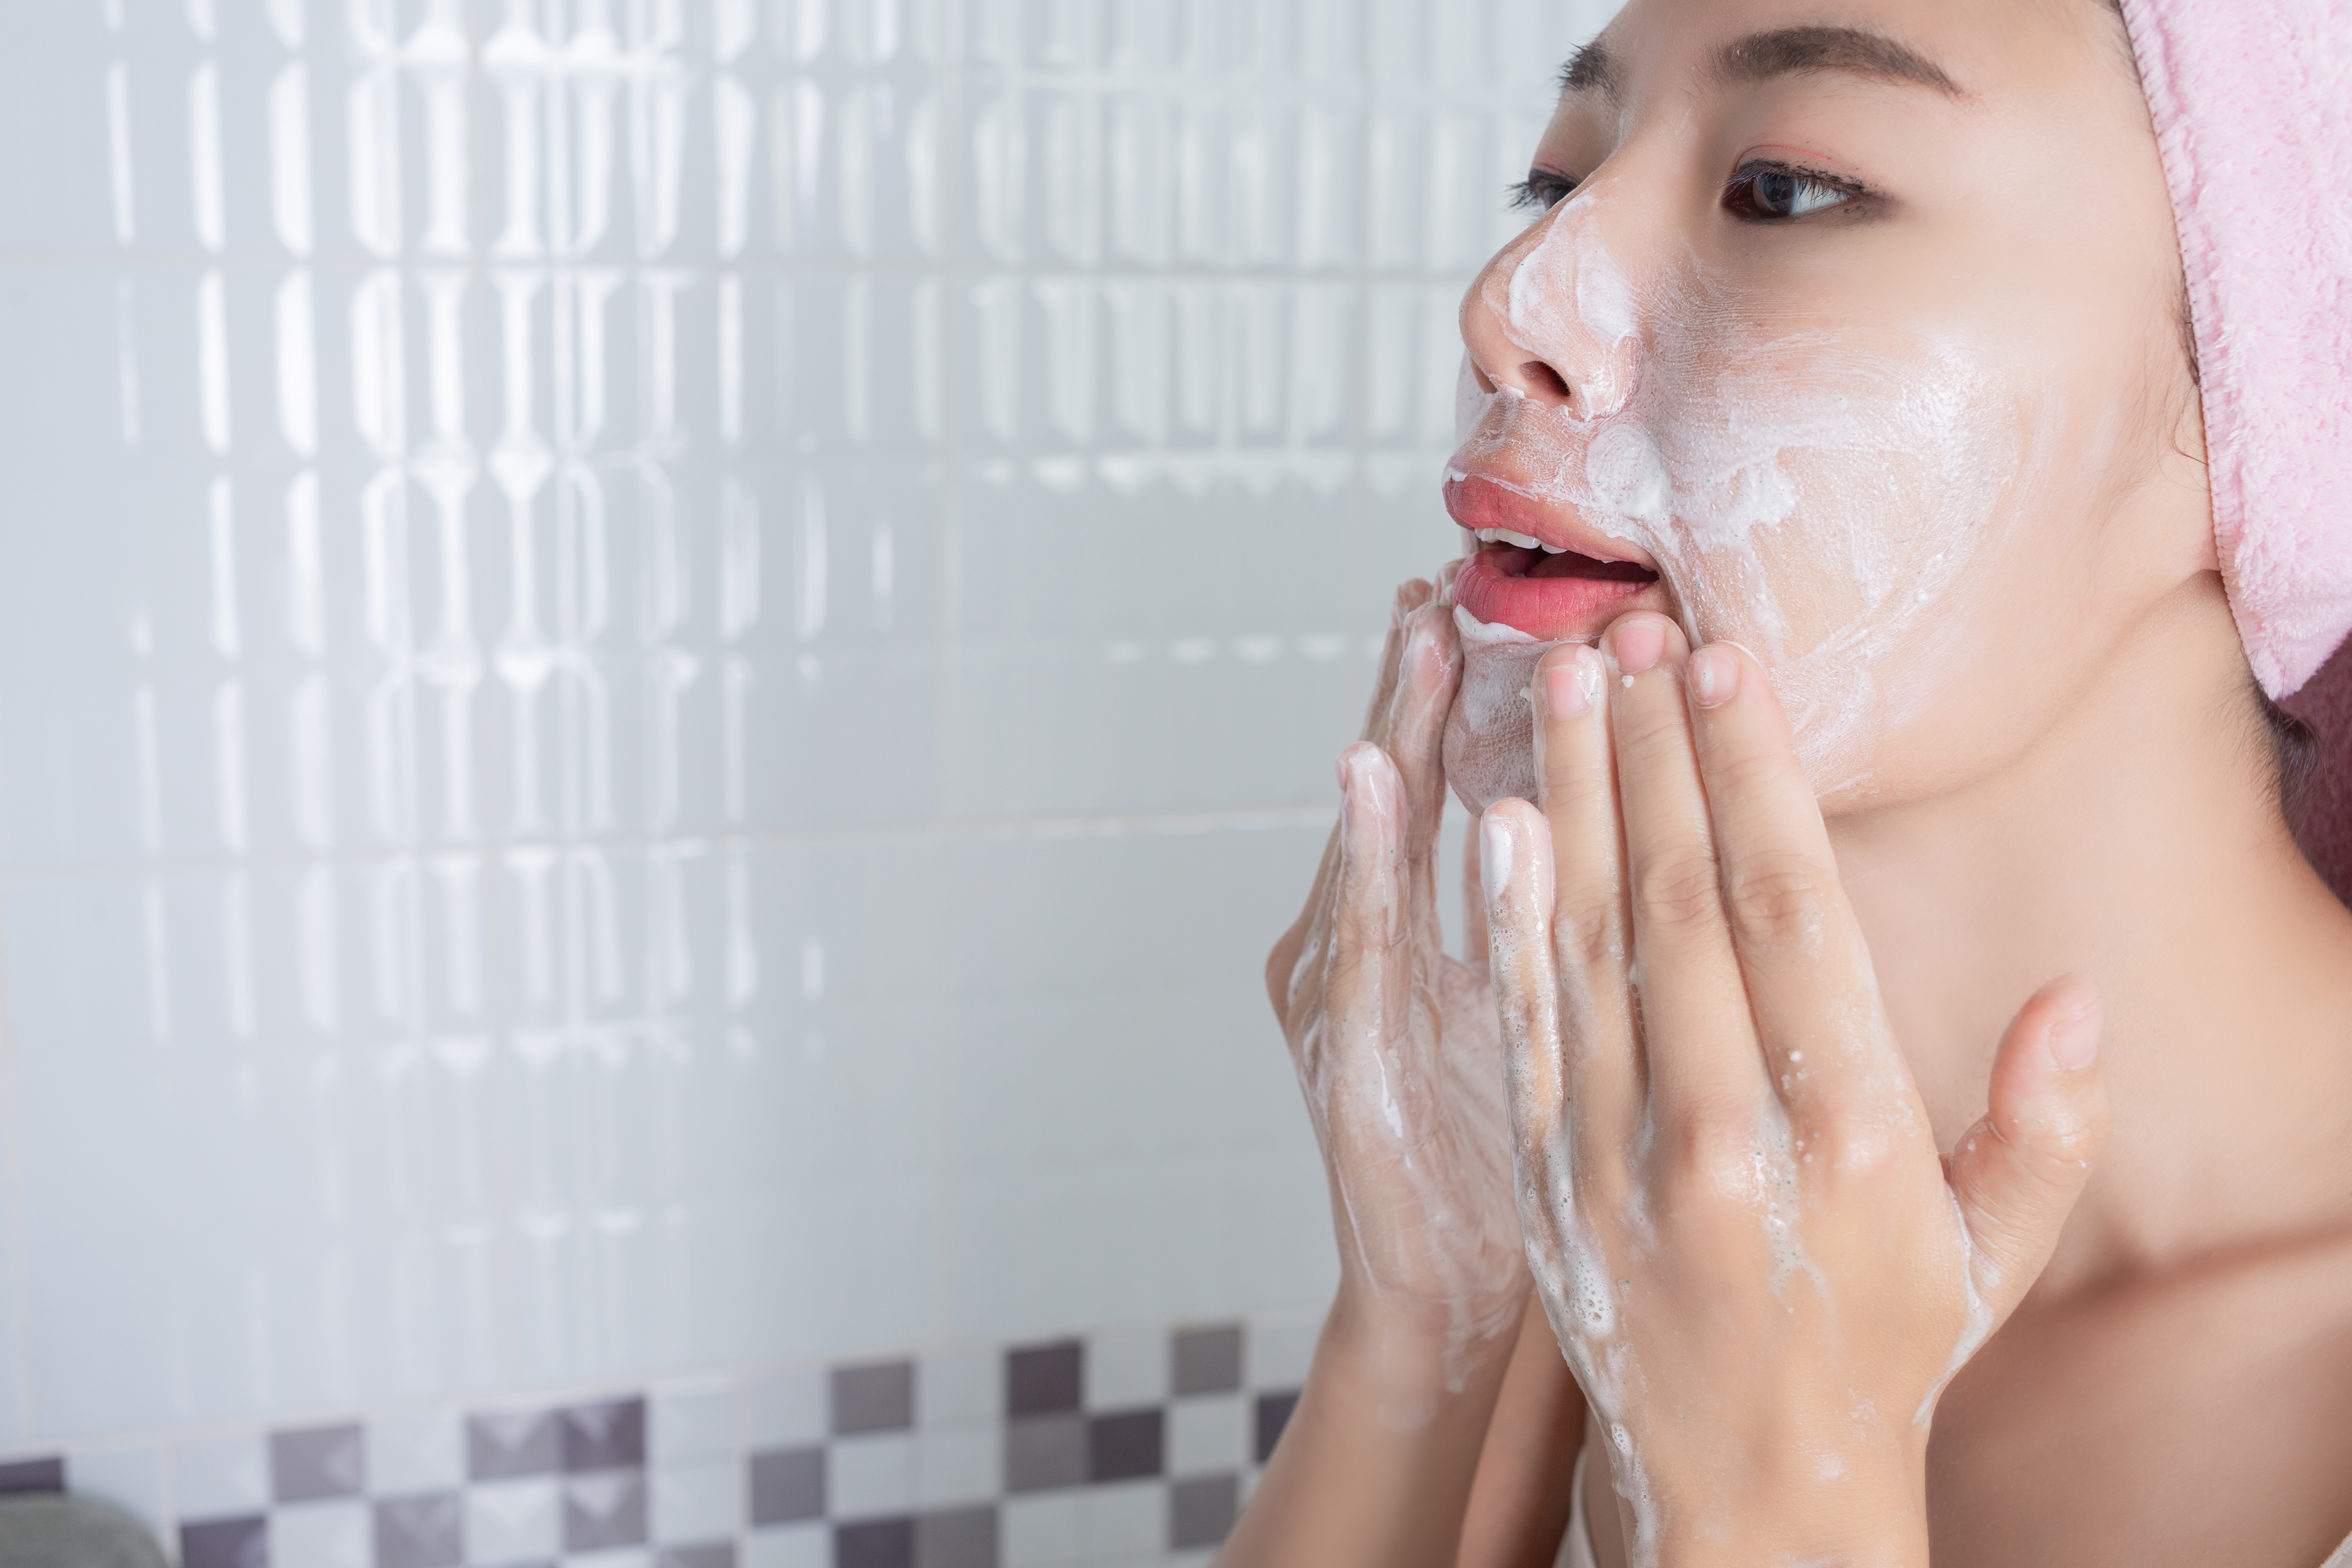
Before starting any skincare treatment it is important to give your skin a thorough but gentle cleanse. It is important to remove any dirt, makeup, or impurities that may be lying on the surface of your skin. It is best to use a gentle cleanser, especially when doing an exfoliating treatment like microdermabrasion. This will make sure your skin does not dry out and helps to prevent irritation.
We recommend:
REN Clean Skincare – Evercalm Gentle Cleansing Gel

It’s very gently but it also cleans the skin very well. Melts off makeup easily and helps to soothe and calm sensitive skin.
CeraVe Hydrating Facial Cleanser
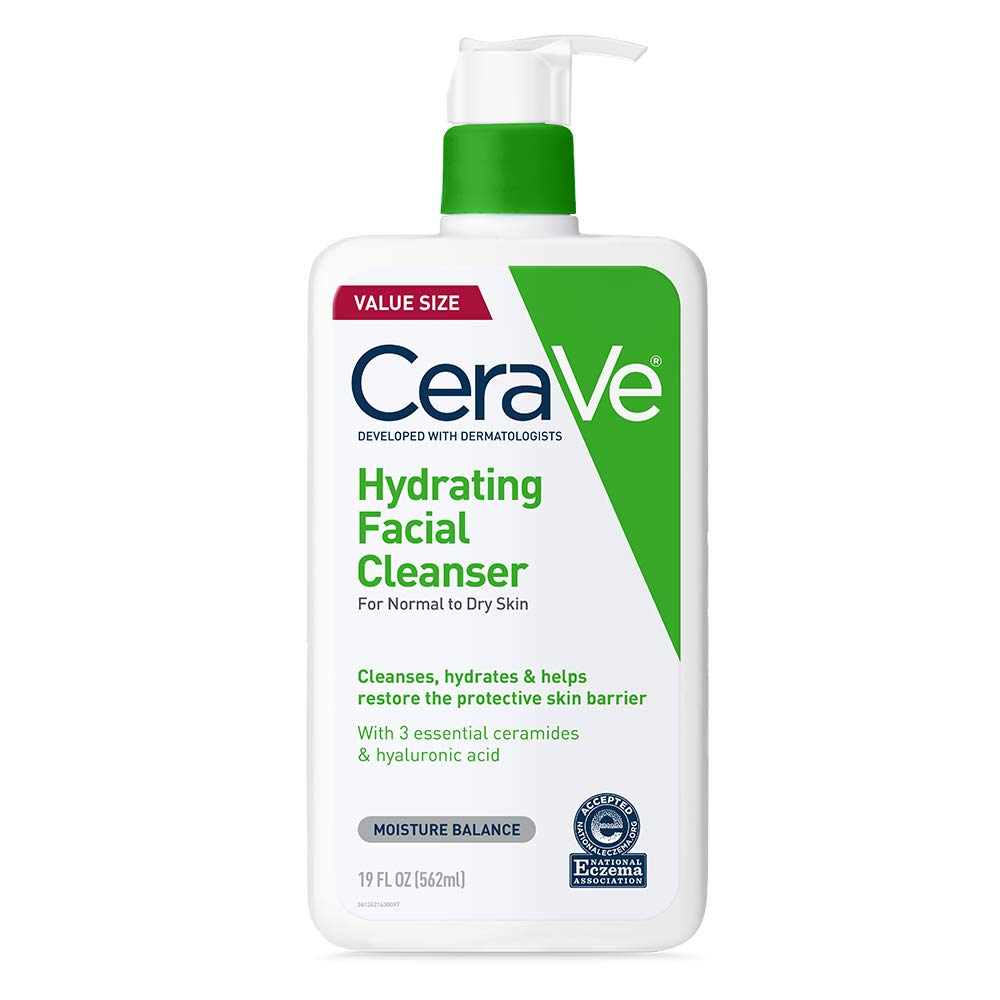
If you are looking for a cheaper and more affordable cleanser for your microdermabrasion facial routine. This non-foaming cleanser is not only gentle but is also extremely hydrating. It contains Hyaluronic Acid, Ceramides & Glycerin, which are ingredients that help restore and maintain the skin’s natural barrier.
Step 2. Microdermabrasion
The most important step of them all is the exfoliating step. You will need to invest in a microdermabrasion device. Luckily there are plenty on the market at affordable prices. Our favorite is the PMD Personal Microderm Classic – At-Home Microdermabrasion Machine with Kit. What we like about this device is that you can change the intensity, customize it to use on your face or body, and uses both vacuum and spinning disk technology to exfoliate your skin. The vacuum suction helps to increase blood flow to the skin which then helps to boost elastin and collagen into the skin. The spinning disk technology spins and rotates the disk over the outer layer of the skin which helps to remove dead, dull skin cells.

How to use a microdermabrasion device on your skin
- Always do a practice test run on a part of your body like your arm or leg before using it on your face.
- Hold you skin tight, this will help the device glide onto your skin.
- When applying the device to your skin move in an upward direction over the face. Avoid going over the same area twice.
Step 3. Face Mask
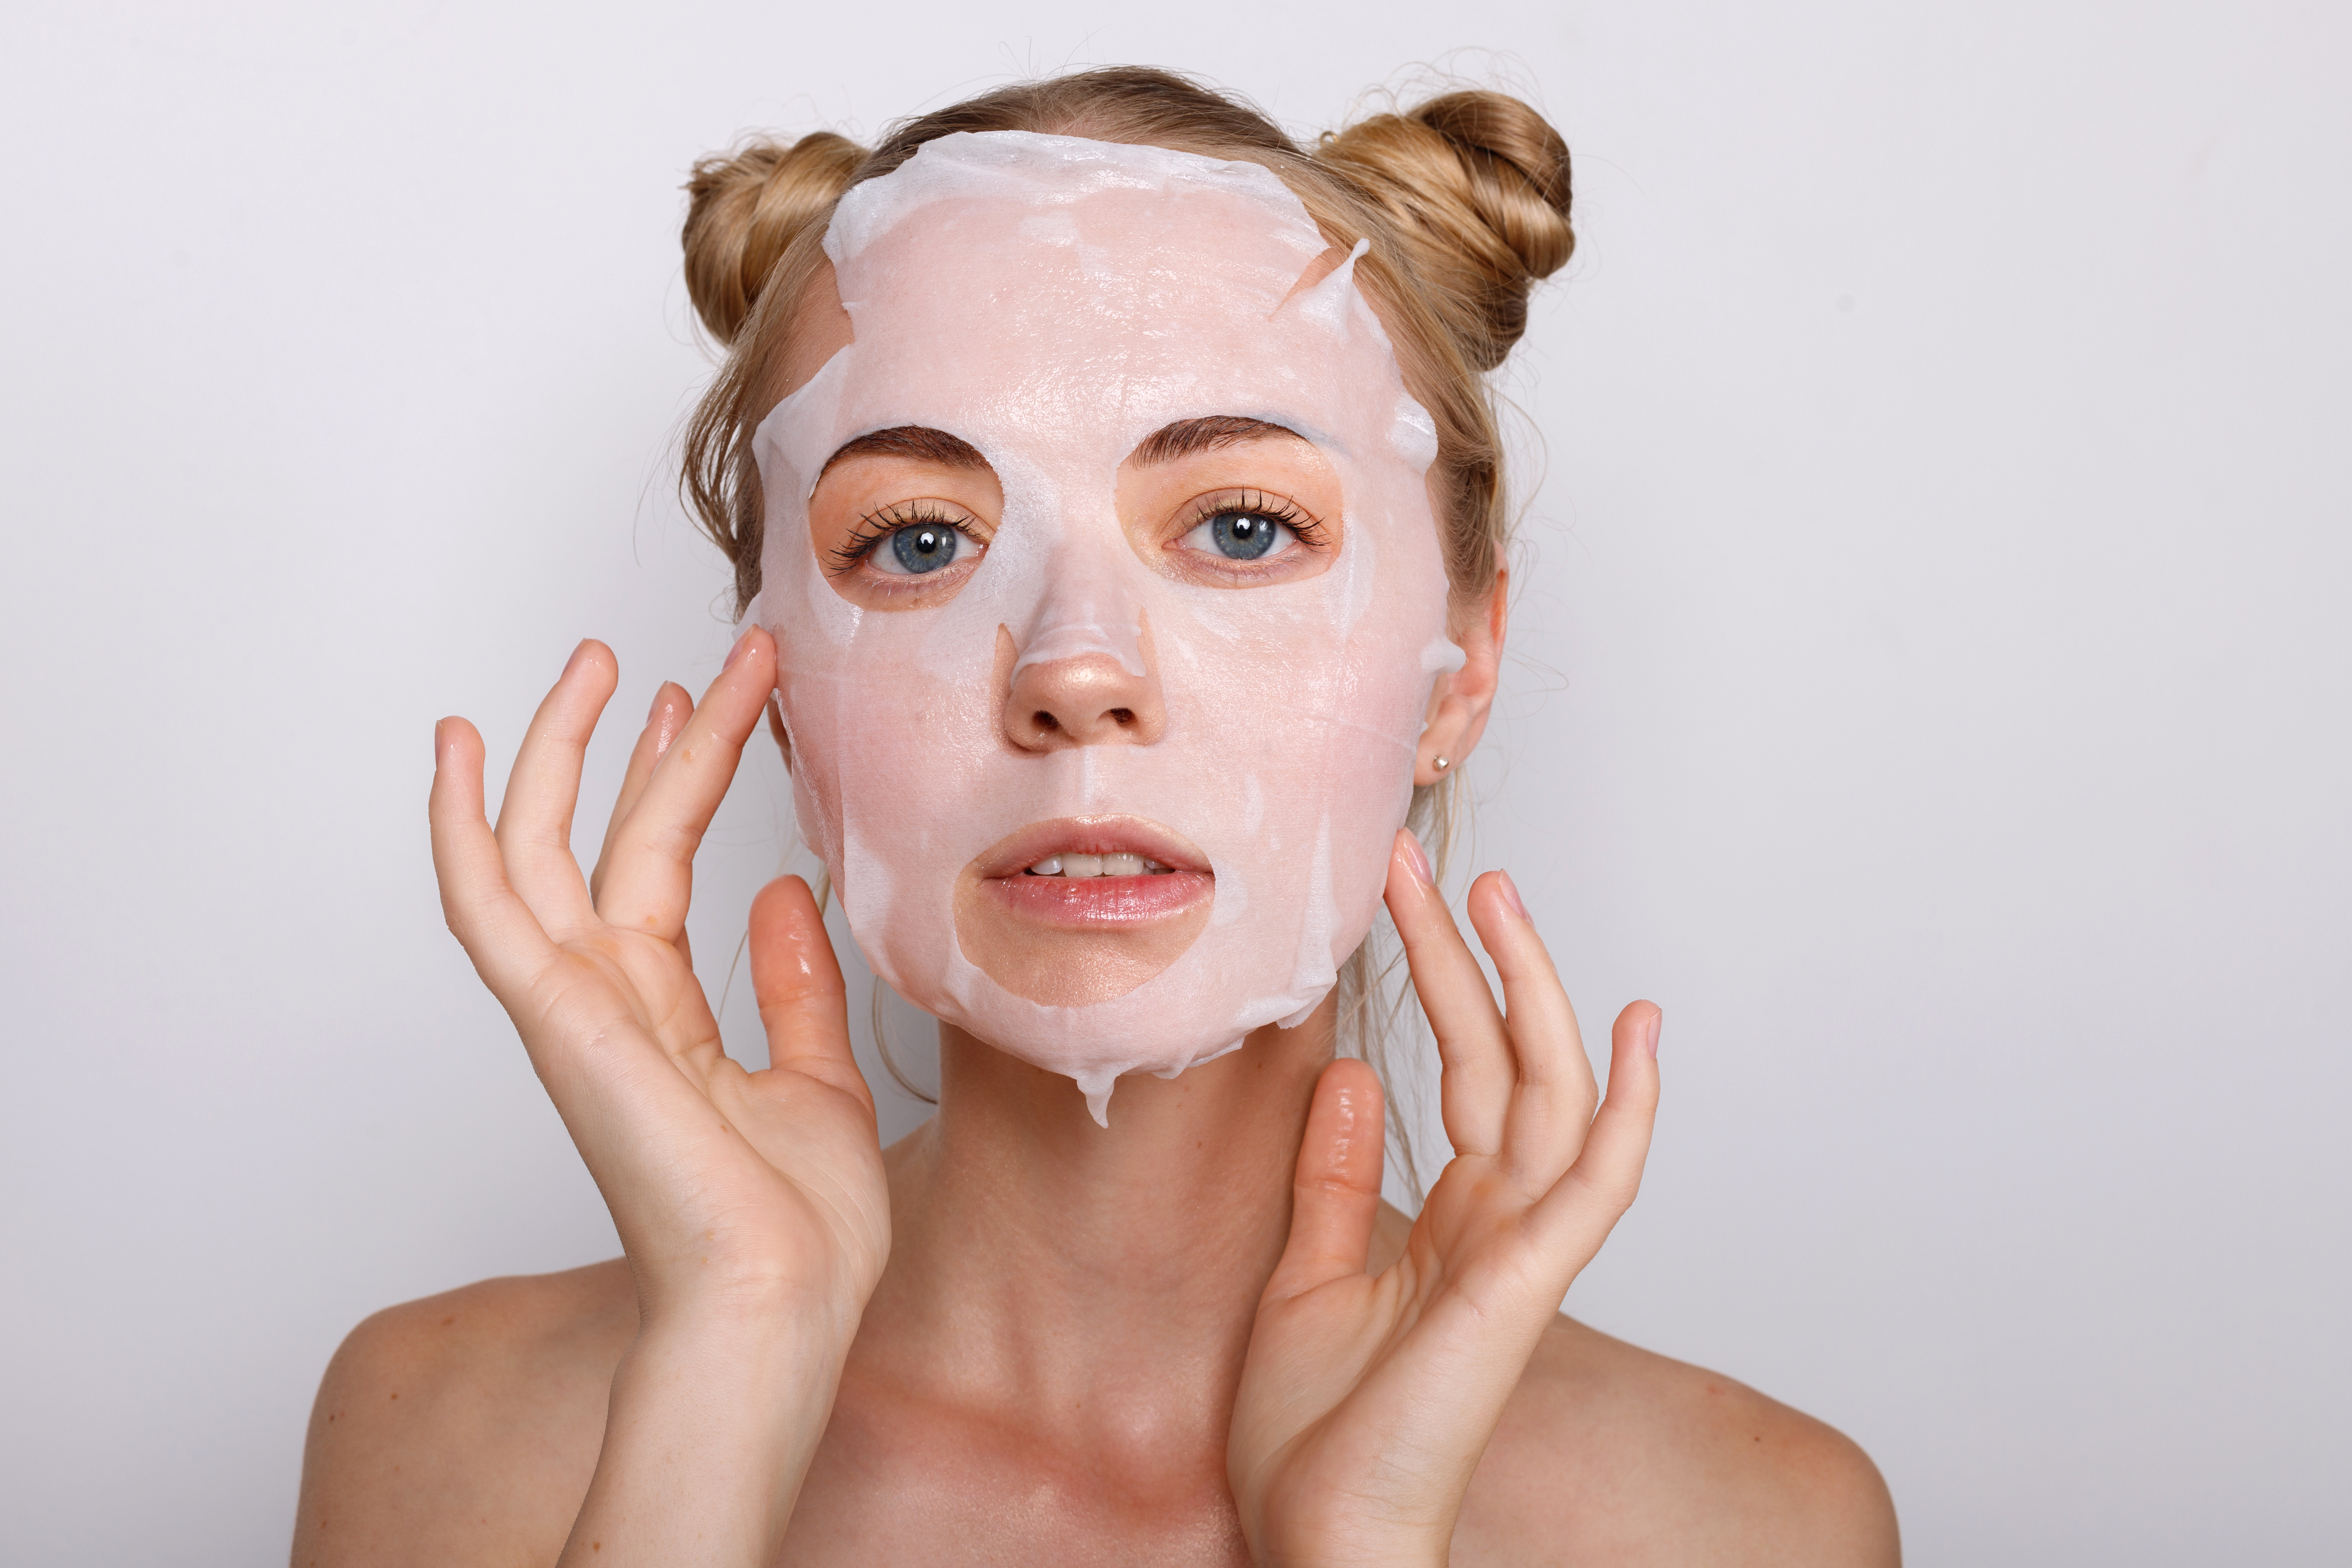
After doing the microdermabrasion step you may find your skin feeling dry and tight from the physical exfoliation. To help restore moisture and calm your skin, use a hydrating soothing mask. Sheet mask are usually the best to use as they contain special serums which help to absorb longer into the skin. Make sure you are using a sheet mask that contains moisturizing and soothing ingredients and is made for sensitive skin.
We recommend:
Dr.Jart+ Cicapair Calming Mask

It helps with your skin’s recovery using an Asian herbal ingrediant, centella asiatica, commonly referred to as tiger grass. We love this mask because it cools, soothes, repairs, and moisturizes sensitive and irritated skin. Perfect to use after doing an abrasive treatment, such is microdermabrasion.
Step 4. LED Treatment
The next step to this DIY microdermabrasion home facial is an LED treatment. It is not an essential step, so do not worry if you don’t have a LED device or not able to invest in one just yet. LED light therapy is shown to be very beneficial to the skin. Depending on your light setting (most devices will let you change led color settings) it can help with redness, inflammation, acne, pigment, fine lines, skin rejuvenation, the list goes on. Our favorite LED light setting to use after a microdermabrasion treatment is either red or yellow.
LED Colors, How Can They Benefit the Skin
Blue
Blue light helps to kill bacteria, which is great for acne and also helps prevent infection.
Red
Promotes blood circulation and helps to repair skin. Can assist with firming and anti-aging
Green
Great for calming sensitive skin
Purple
Has the combined benefits of blue and red
Yellow
Helps with redness and swelling. Great for relieving inflammation
Cyan
Promotes metabolism and cell energy
We recommend:
NEWKEY Led Light Therapy 7 Color Facial Skin Care Mask

We love this mask because it easy to use. Just put it over your face and relax. It uses medical LED lights set at the right wavelengths to provide your skin with maximum benefits.
Step 5. Hydrate & Protect
Our very last step for this DIY microdermabrasion facial is to moisturize your skin. It is important to create a hydration barrier for your skin. This will help lock in the serum from the sheet mask step. If you are planning on going outside we also suggest using sunscreen as your skin will be more susceptible to the sun rays. Use products that are hydrating and gentle to the skin.
We recommend:
Drunk Elephant Lala Retro Whipped Cream
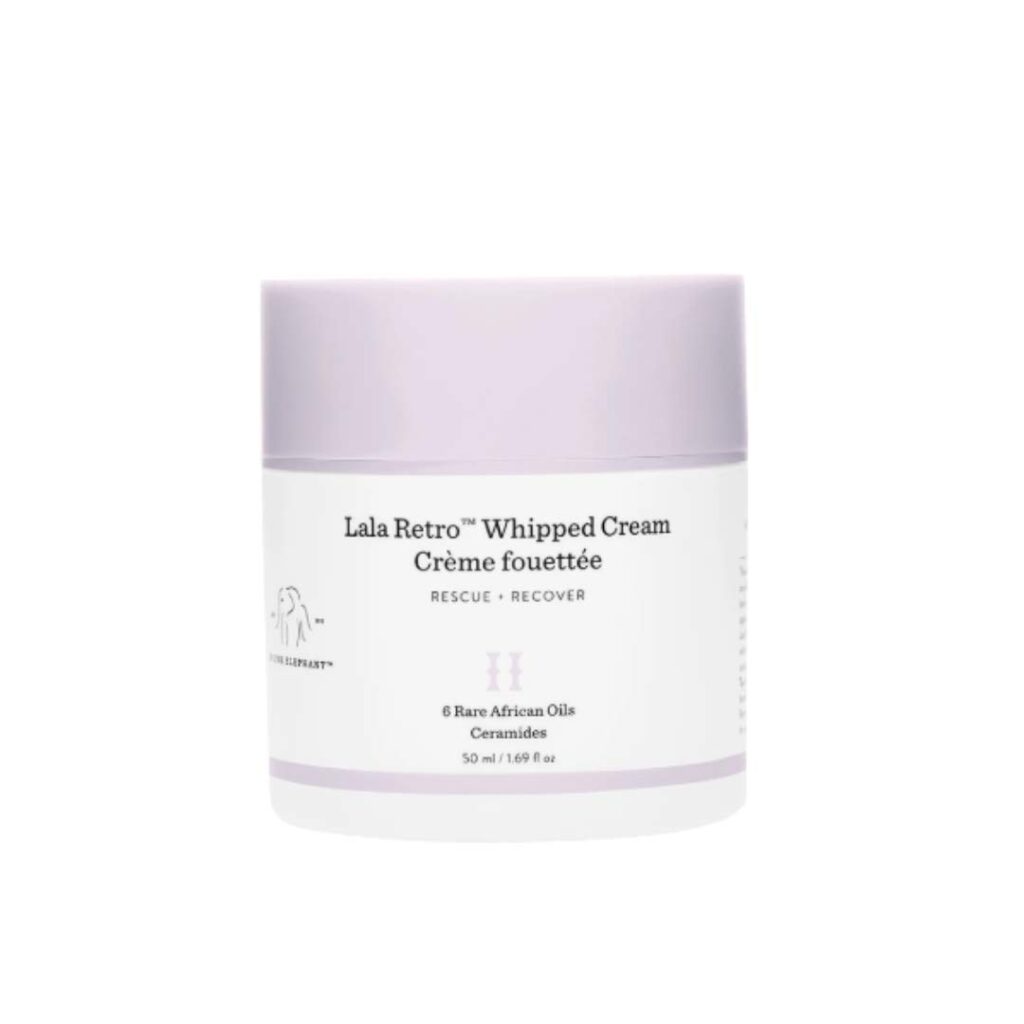
Why we love this? It is formulated with ceramides, an ingredient that provides replenishing barrier support by reinforcing the skin’s acid mantle and defends against the effects of everyday stressors.
La Roche-Posay Anthelios Light Fluid Face Sunscreen Broad Spectrum SPF 60

This sunscreen offers high sun protection of SPF 60 and is formulated to be non-greasy and non-comedogenic. It feels lightweight on your skin, with a matte finish, and doesn’t give you a white cast. This is a great sunscreen that you can use as part of your daily routine.
And there you have it, the 5 step at home DIY Microdermabrasion facial treatment. We recommend doing this routine every 3 to 5 weeks for the best results. Let us know in the comments below if you have tried this home facial treatment, we would love to know.


